Pain-Free Backbending
 Even as someone with a naturally flexible spine, I spent years doing backbends that caused me to feel pain in my lumbar vertebrae. In deep poses like Kapotasana, I thought pain was just part of the deal; the back isn’t used to bending so intensely, so it’s not surprising that taking it beyond its comfort zone can feel, well…uncomfortable.
In the last couple of years however, I’ve been working my way out of painful backbends. From the chest-opening poses of second series to drop-backs at the end of each practice, I make it a goal to experience absolutely no discomfort in my lower back. While some could argue that the pain I experienced in the past was just my back “opening” to deeper sensations, I know this isn’t the case because even now if I lose “the work” in the pose, the pain comes back. In order to bring integrity into the posture and keep compression from going into my lumber spine, I have to seriously concentrate on the actions required, and the muscles needed for support. If I’m fatigued or if I rush through the set-up, my lower back responds immediately with a message that is loud and clear: “Get me out of here!”
Since practicing in Goa, I can confidently say that I’ve never understood more about what it takes to turn an uncomfortable backbend into a liberating, strong chest-opener. Prior to arriving at Yoga Bones to study with Rolf and Marci, I thought my backbends were pretty bang-on. I could come in and out of Kapotasana slowly and easily, holding my heels and doing so without feeling any crunching in my lower back. I had started practicing handstand scorpion, dropping into Urdhva Dhanurasana (UD) in preparation for tic-toks. And with several poses of third series under my belt, I felt that my practice was moving in a strong direction toward more advanced postures.
Yet, as I went further into third, my low back was feeling aggravated. I couldn’t seem to find the balance between the 5 leg-behind-the-head poses (or 10 if you’re counting both sides), which followed second series and all of its back-bending glory, and which preceded UD and drop-backs. Somewhere along the way, I was losing stability in my core and my low back was paying the price.
So it was with this in mind that I set off to study with Rolf and Marci Naujokat. My first three days at Yoga Bones were like a trial run, as I got accustomed to a new environment that included bugs and cow dung floors, while Rolf and Marci observed and took note of the bad habits I had integrated into my practice. On my fourth day there, Marci decided she’d seen enough and turned my typically 2-hour practice into a 3-hour session that pin-pointed all of my major areas of weakness. For those who have practiced with Marci, you know this can be a slightly demoralizing experiencing. One of the highlights for me was when, upon telling me to lift into Bakasana in a different way than I’d been used to, the instruction went something like this: “No…bum down. DOWN! BUM DOWN! No, you’re not getting it, let me show you again. Like THIS. More belly-up! Now you do…NO! And you’re doing third series arm balances?! (Sigh).” I swallowed that shot to the ol’ ego and eventually did the arm balance the way she showed me. (“YES! Much better.”) When I got it, I felt my core and my inner thighs engage in a way they never had before, which made me realize this lady was onto something.
When it came time for UD, Marci showed me how to engage my legs before lifting into UD. I’ve done my best to lay out these steps as follows, should you wish to give it a try yourself:
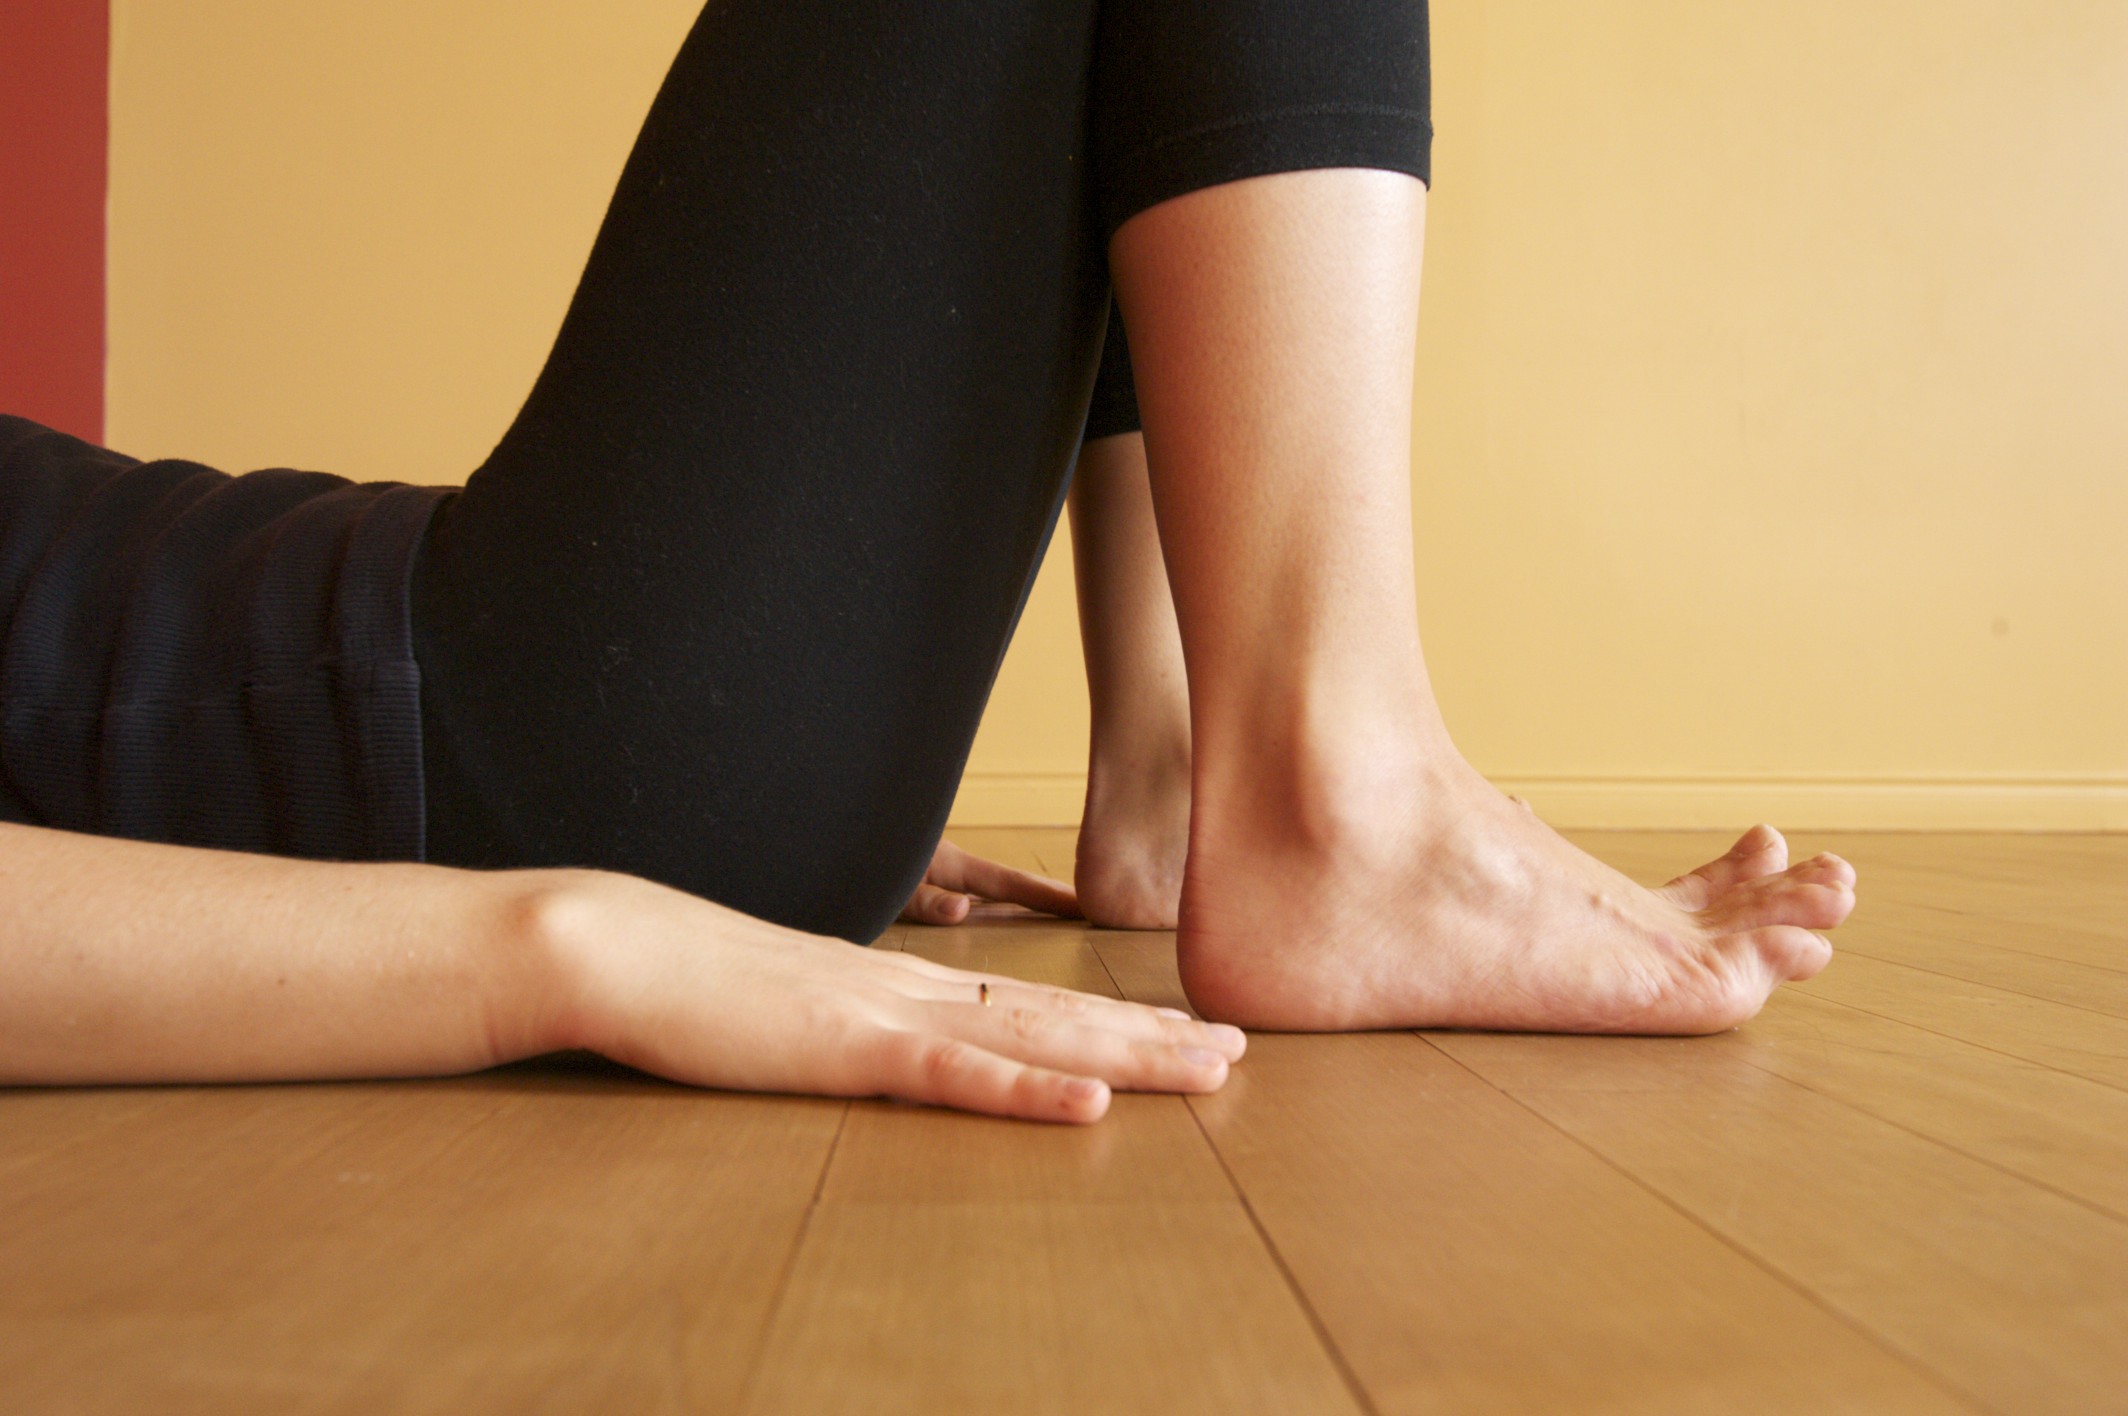
 1. Begin with legs bent, feet hip width apart and parallel with knees directly over heels.
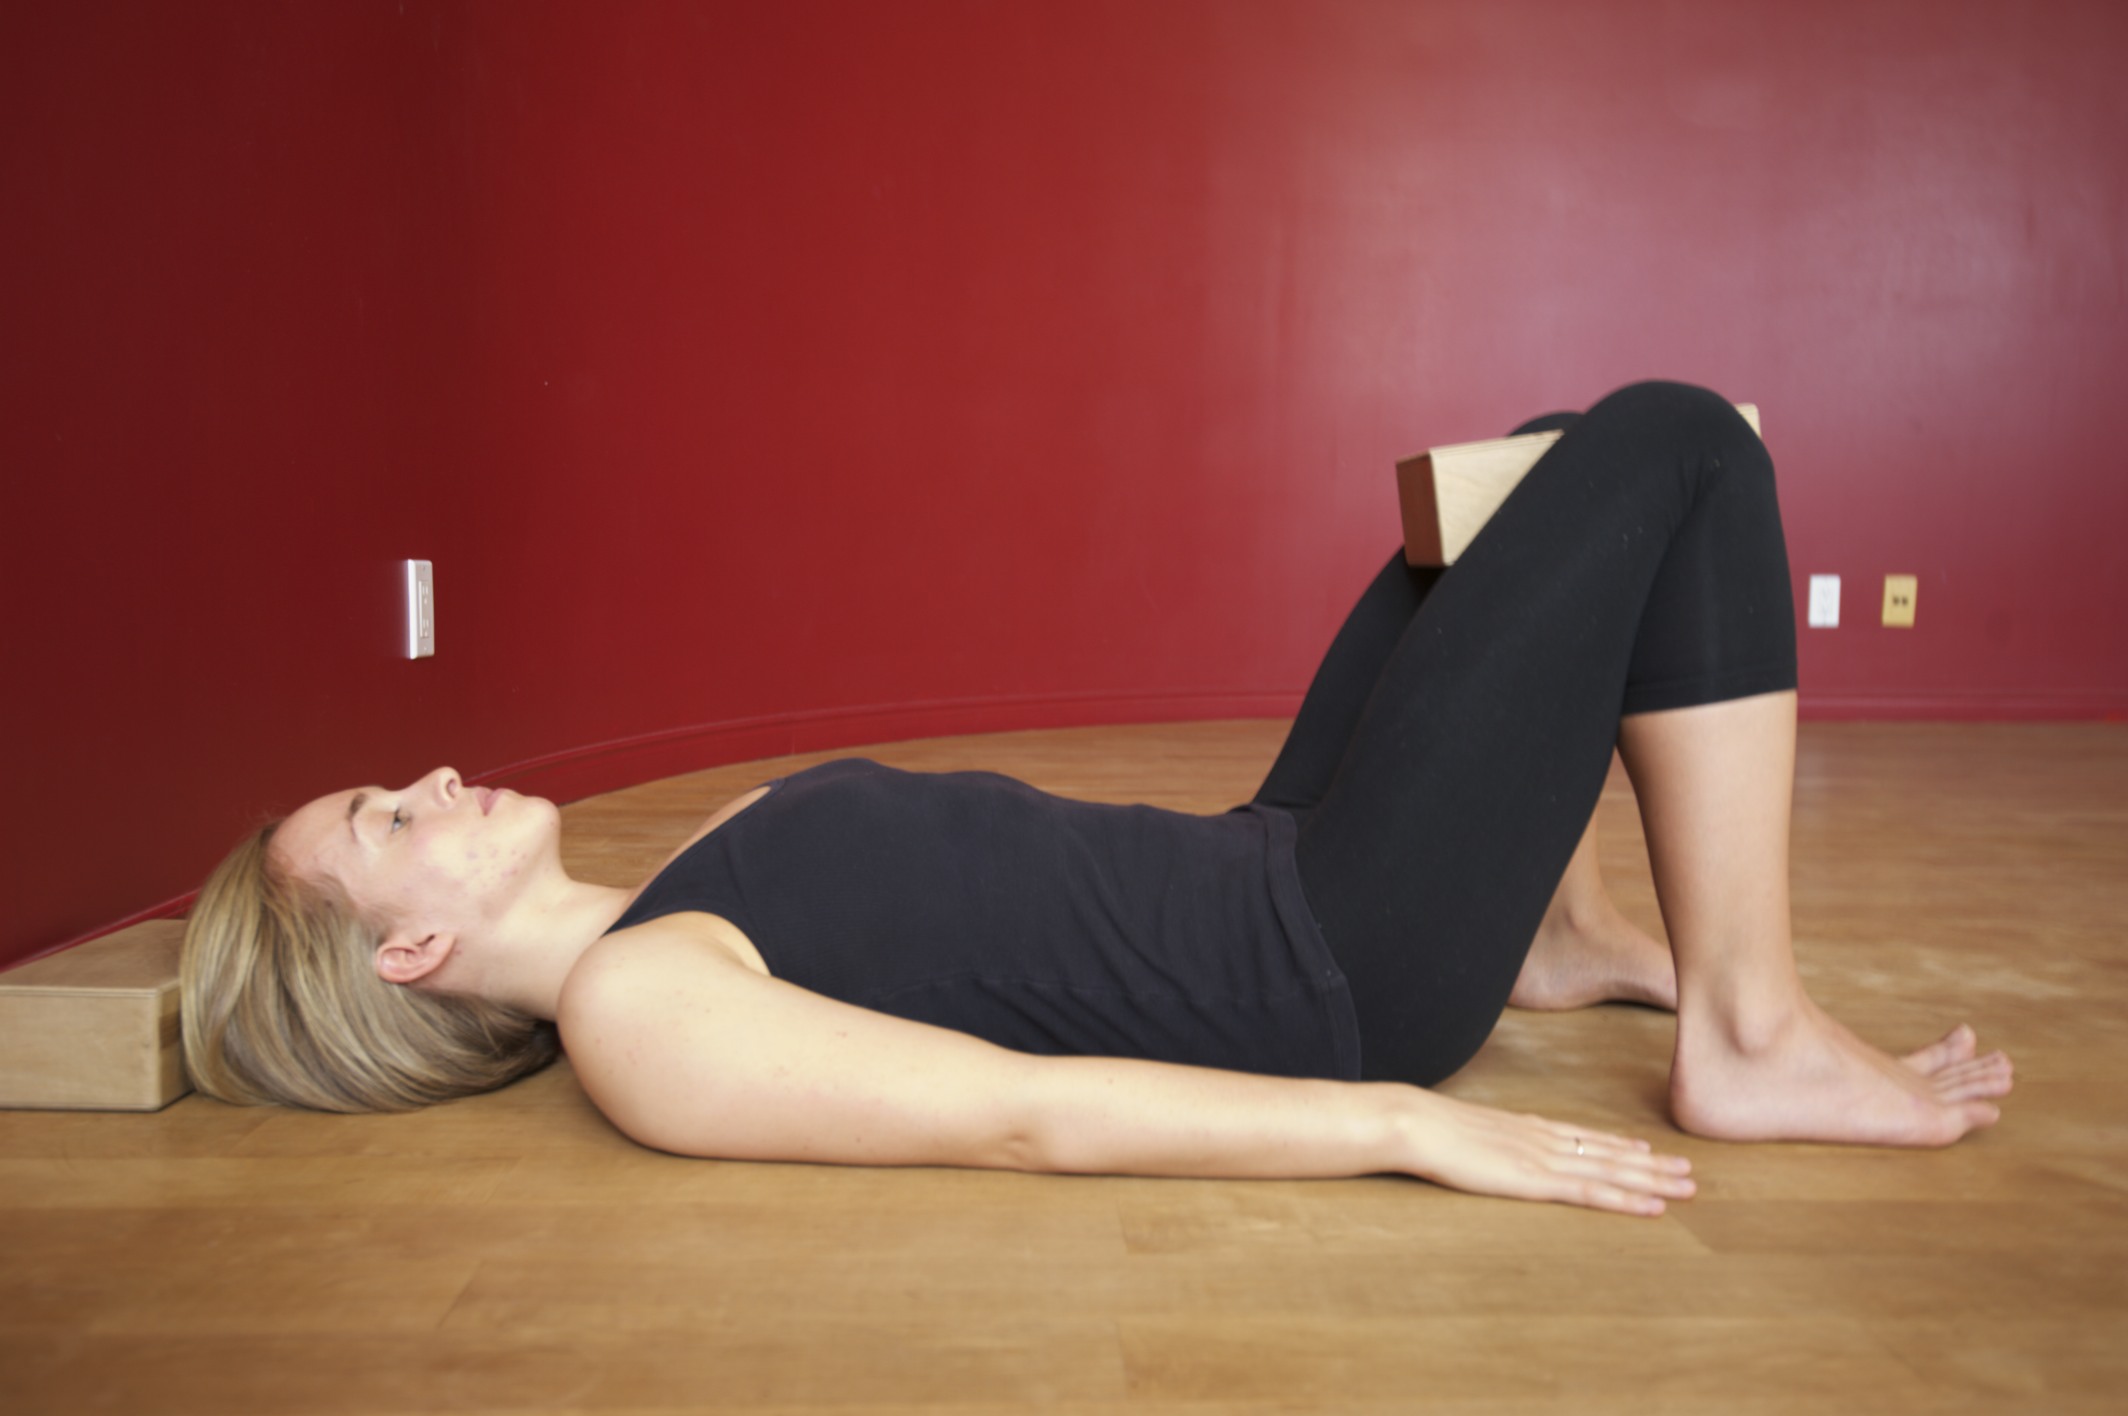
2. Place a block between the knees to keep them in line with your hip bones.
3. Bring one hand onto your stomach, and the other on your glute (bum!).
4. Engage uddiyana bandha, hollowing the belly as the navel draws to the spine so the stomach falls to the floor (belly stays soft).
5. This will cause the tailbone to naturally lift. Rather than forcefully tucking under with the pelvis (and causing the glutes to clench), slowly roll the hips up, allowing one vertebra at a time to lift from the mat. To keep the tailbone from curling up and tucking the pelvis, you roll the inner thighs down simultaneously…in order to bring the pelvis to neutral you have to roll the inner thighs down, while engaging uddiyana bandha & lengthening the tail bone to the back of the knees.
6. Once the hips come up, focus on the inner thighs rolling down, squeezing the block, while the outer hips continue to draw to the ceiling.
7. With the hand on your glute, monitor whether you are squeezing your bum – you shouldn’t be. The work here should stay in the legs, with the glutes soft and sitting bones wide.
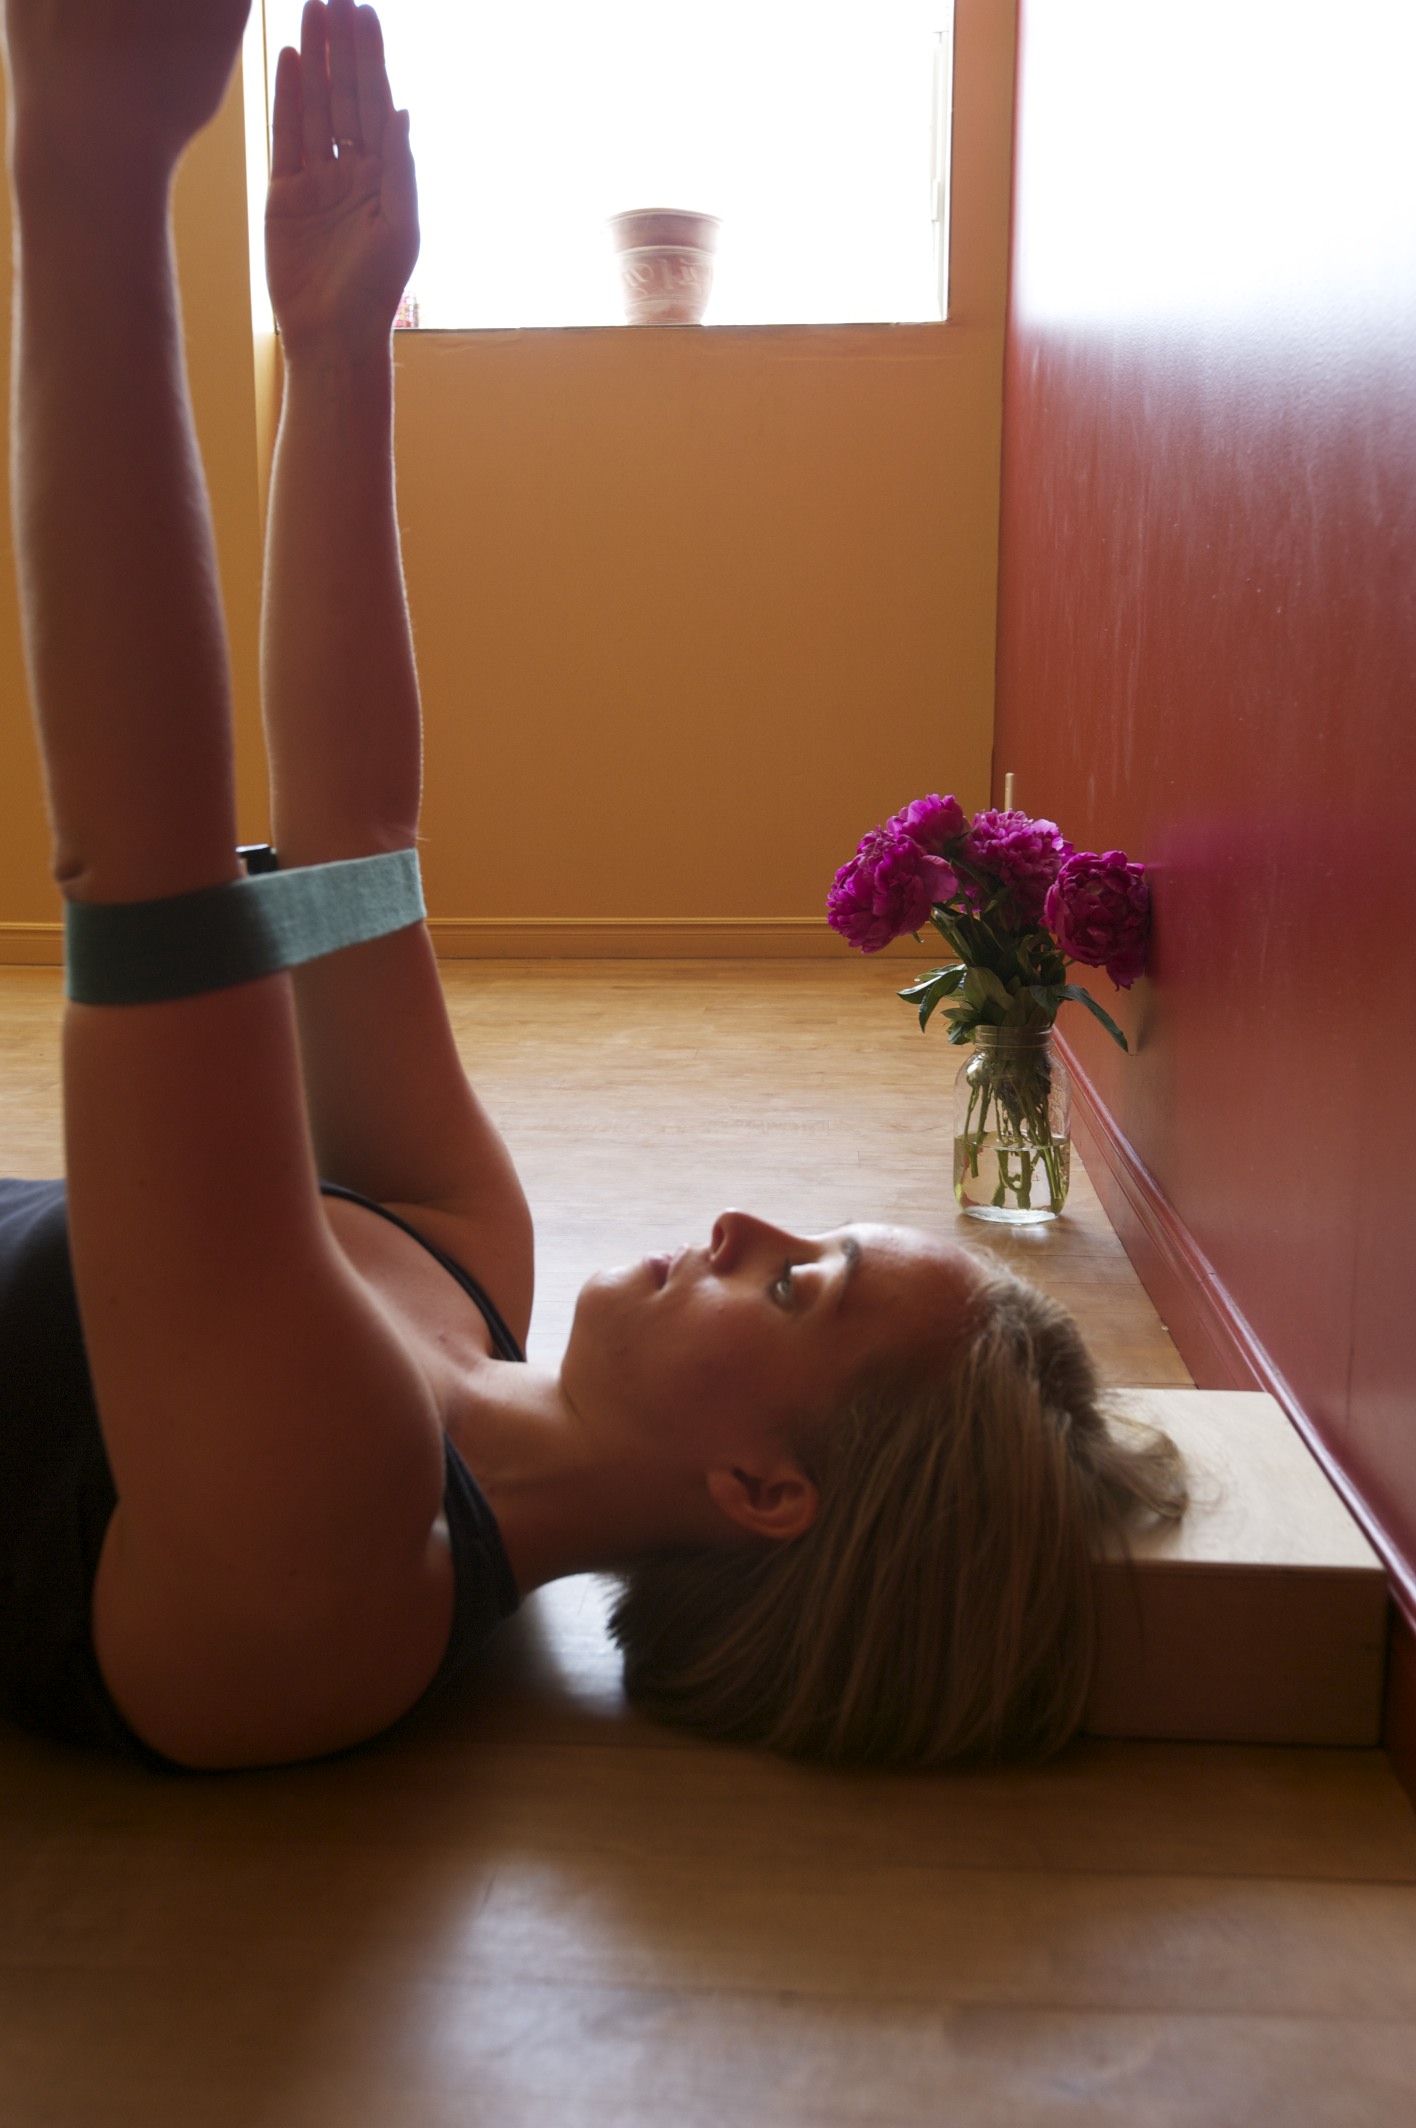
8. When the glutes soften (which might not happen right away), the work goes into the legs and you should feel the thighs start to burn. Only then, lift to the crown of the head with the hands turned out toward the corners of your mat, keeping the elbows directly over wrists (it is useful to place the baby-finger sides of the hands at a wall in order to keep the elbows directly over the wrists). Using a strap around the elbows will keep them aligned with the shoulders and wrists and bring work into the triceps.
9. As you start to lift up off your head, keep your elbows on the wall. Lift your chest toward the wall as you simultaneously lengthen the tailbone to the backs of the knees. Balance the work in the legs by drawing the shins back toward the heels.
10. As the chest bone lifts through the upper arms, the tailbone lengthens equally to the backs of the knees to bring more length into the spine, striving for the feeling of “ahhh…sweet release” rather than “get me out of here!” in the lower back.
[A note here from Marci: Keep the elbows and knees bent, or slightly bent if your spine is very open. Don’t straighten your elbows or knees completely. Hang out in the “uncomfortable” place (where it’s challenging, NOT painful) where the muscles of arms (triceps) and legs (quads, hammies and adductors) are burning and slowly build up the strength to start to expand out from “center”, which is directly under the navel. The bottom front ribs and frontal hip bones are at the same height and the navel should not puff up…this keeps the low back spacious and the legs doing the work to stabilize the pelvis.]
Ten steps…that worked out well! It’s really a lot to think about, but once I found these actions, they revolutionized my backbends. My lower back feels great and my legs have gotten so much stronger that I can actually see my thighs are leaner and have changed shape. Do not be discouraged if you try this and it makes you feel less open – that’s to be expected at first. For years I hoisted myself into backbends relying on my bendy lower back, never striving for more length from my psoas and front thighs. Marci’s Method provides the set up for opening the front of the body, which for most people is tight and closed. When she showed me how to integrate these actions into drop-backs, I couldn’t do them anymore without support. Since she wouldn’t let me rely on the flexibility of my lower back to take me there, I realized just how tight the front of my body was. Once I found my legs and the ability to lengthen through the psoas while maintaining a neutral pelvis, my drop-backs stopped being springy, quick and sometimes painful, and became slow, methodical and far more therapeutic. As Marci would say, they were no longer “paining” me!
All of this work can be brought into the first half of second series, especially all of the kneeling backbends (Ustrasana, Laghuvajrasana, and Kapotasana). I’ll describe how the Marci Method (which at this point I’ll point out comes out of the Maty Method, of Maty Ezraty, one of Marci’s principle teachers*) relates more specifically to these postures in a follow-up post, but for now enjoy Urdva D pain-free…there’s no feeling quite like it.
[*Note 2 from Marci: Gabriella Giubilaro, a senior Iyengar teacher in Italy, teaches the foundation of these principles of alignment. Gabriella worked with me when I hurt my back 8 years ago. Much of what I teach came from working with her, as well as Maty.]
Marci and Rolf Naujokat teach in Candolim, Goa from their shala, Yoga Bones. I highly recommend making the trip to study with them in person. For more information, visit www.yogabones.org.
Photos courtesy of Stephanie Bonas – thanks Steph!